
News
DIRECT ANSWER: A GOB-coated LED module is not ready to handle just because the coating looks dry. Dry on the surface, cured through the layer, and ready to be stacked, packed, or screwed into a cabinet are three different states, and only the coating material's datasheet defines when each one is reached. Until the datasheet's cure condition is met, keep the module flat, untouched on its coated face, and unstacked; record the mix, the start time, and the shop conditions for the batch; and prove cure on a witness coupon cured beside the batch — not by touching the display face. Most post-coating damage is not a dispensing defect. It is a good coating ruined by moving, stacking, or packing it too early.
This guide covers only the step after dispensing: curing, handling, and storage of a freshly coated GOB LED module, up to the point where it is released for cabinet assembly. It does not repeat the equipment sequence of a full GOB line, glue selection from a datasheet, surface preparation before coating, masking of keep-out zones, batch acceptance of finished modules, or the repair-or-scrap decision for a coated module. Each of those is a separate decision with its own checklist, and this guide assumes the coating has already been applied correctly.
A coating that has stopped flowing is not necessarily a coating that has finished curing, and a coating that feels dry to a light touch is not necessarily a coating that can take pressure. Use three separate states on the traveller, and do not let one stand in for another:
| State | What it means | What it does NOT mean |
|---|---|---|
| Wet / uncured | The layer can still flow, pick up dust, or take a fingerprint. | It is not a defect — it is simply not finished. |
| Surface dry (tack-free) | The surface no longer transfers to a light touch on a witness coupon. | It does not prove the layer is cured through, or that it can take load. |
| Fully cured, per the datasheet | The datasheet's stated cure condition — time, temperature, and any other stated condition — has been met for this batch. | It is the only state that releases the module for stacking, packing, or cabinet assembly. |
The practical consequence is simple: a module that is surface dry may still be damaged by stacking, by a hand pressing on its face, or by a screw pulling it against a cabinet frame. If the traveller does not record which state the batch is in, the next operator has no way to know what is safe to do with it.
The cure condition is not a shop habit. It comes from the coating material's datasheet for the exact material and mix in use, and it must be written on the batch traveller before coating starts — not reconstructed from memory after the module is already coated. Copy these fields, word for word, from the datasheet:
A worked example shows why this matters. JHIMS OPT315, a two-component condensation-type silicone sealing material for indoor and outdoor LED displays, cures at room temperature and releases ethanol molecules during curing. Its product page states a general mix ratio of A:B = 10:1, that more component B shortens both curing time and working time, that a higher ambient temperature speeds curing and shortens working time, and that heating to cure is generally not recommended because it can produce pinholes or bubbles on the surface and inside, affecting appearance and sealing. None of that is a reason to heat-cure a batch to save time: for this material, the shortcut the datasheet warns against is exactly the one that creates the bubbles a later inspection will reject.
The same page gives a second warning that belongs on the traveller, not in a footnote: for potting thicker than 20 mm, natural defoaming is no longer assumed, and the mixture should be vacuum-defoamed for at least 5 minutes at 700 mmHg. Bubbles found in a cured layer may therefore be a mixing and defoaming failure, not a curing failure — and no amount of extra cure time will remove them.
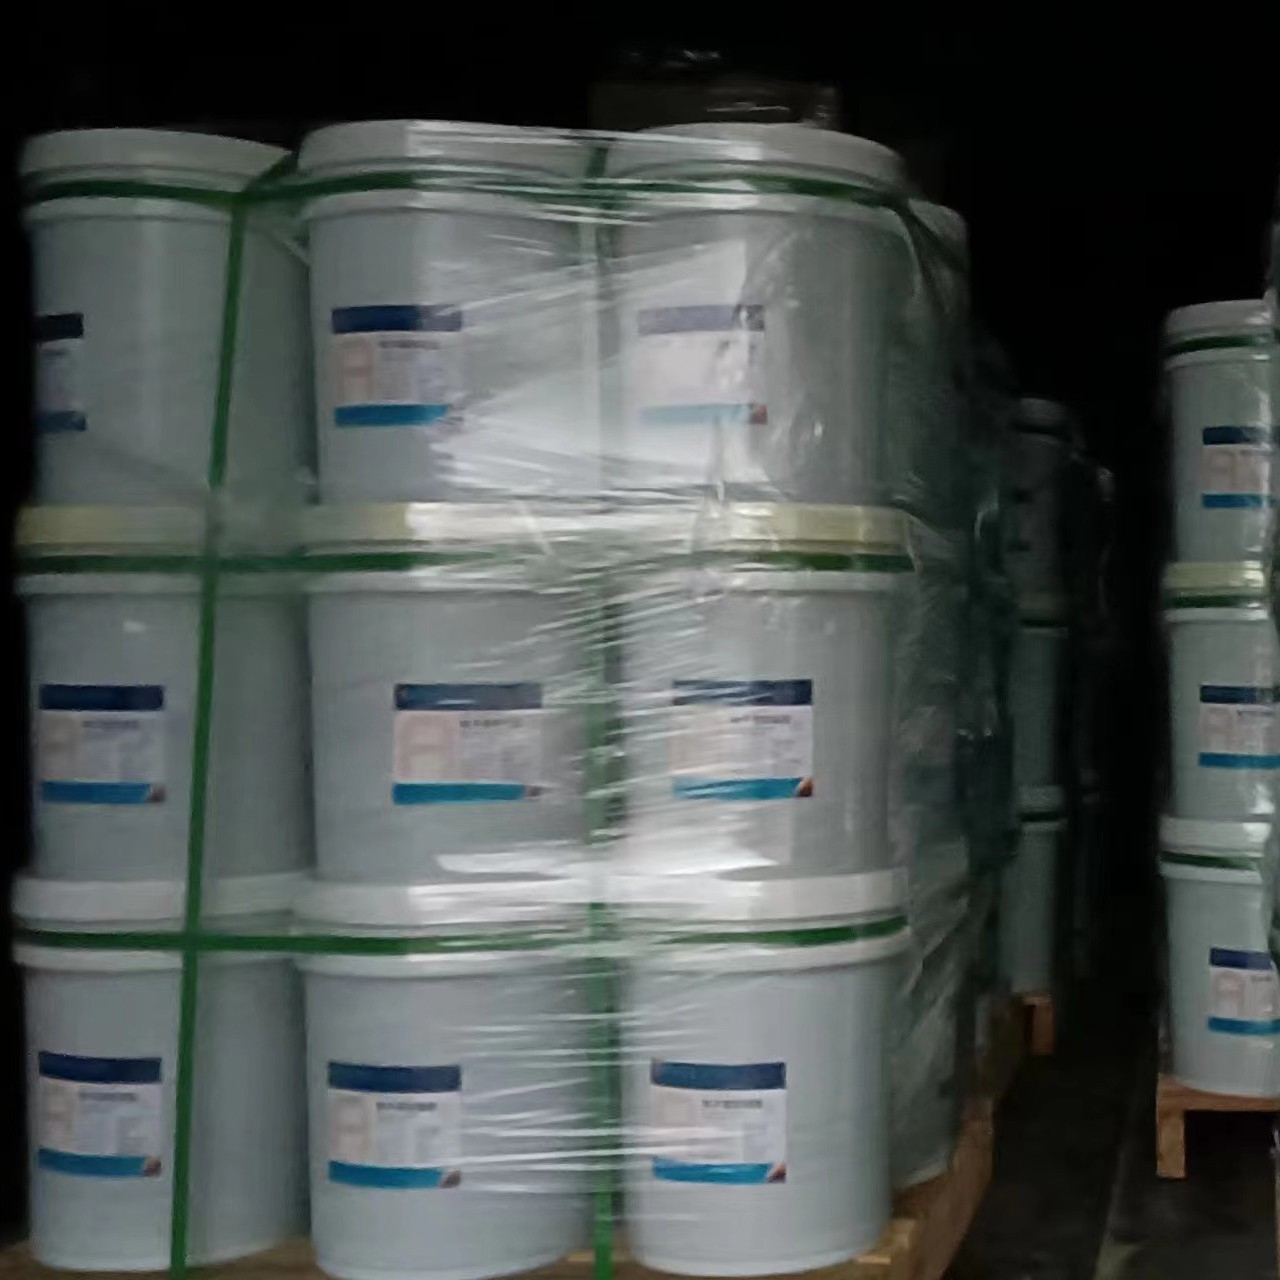
OPT315 potting and sealing material in pails, as shown on its product page. The material — not a curing step — is the worked example for the cure conditions in this section.
A coated module should go straight from the dispensing station to a defined cure position. Improvising that position after coating — clearing a bench, finding a rack, deciding where the batch goes — is how freshly coated faces get touched, leaned, or stacked. Prepare the following before the first module is coated:
Do not improvise sealed packing for a freshly coated module. Some materials release volatiles during cure — OPT315, for example, releases ethanol — so whether a coated module may be bagged, wrapped, or boxed before cure is complete is a question for the material datasheet and supplier, not a packing habit. When in doubt, leave the module open to the cure conditions the datasheet assumes until it is released.
Write this table into the work instruction, not just into a training slide. It is the document an operator checks when the next station asks whether the batch can move.
| Action | Wet / uncured | Surface dry only | Fully cured (datasheet condition met) |
|---|---|---|---|
| Move on its tray, coated face up | Yes — to the cure zone only | Yes | Yes |
| Visual inspection from a distance | Yes | Yes | Yes |
| Touch the coated face | No | No — test the witness coupon instead | Only as the inspection procedure allows |
| Stack, lean, or face-to-face pack | No | No | Per the packing procedure |
| Screw into a cabinet or frame | No | No | Yes — after release sign-off |
| Ship or hand to the customer | No | No | Yes — after release sign-off |
The two rows that cause the most arguments are the last two. Screwing an only-surface-dry module into a cabinet presses the coating against a frame and against its neighbours before it can resist that pressure, and the damage shows up later as edge marks, dents, or a module that no longer sits flat. If the schedule is tight, the answer is to start coating earlier or to add cure capacity — not to promote a surface-dry module to fully cured.
Every test that involves touching, pressing, or scratching a coating damages the spot it tests. That is acceptable on a test piece and unacceptable on a display module. Cure a witness coupon with every batch: the same material, the same mix, a comparable thickness, cured in the same zone and under the same conditions as the batch. Then:
A witness coupon does not replace the datasheet condition. It is the evidence that the condition was actually met in this shop, on this day, for this batch. The release decision still needs both: the datasheet condition, and a record that it was met.
A cure time copied from a previous batch is only valid if the conditions are the same. Before reusing yesterday's time, check the four variables that move it:
When any of these differs from the reference batch, the release time moves with it. The traveller should show the actual conditions and the resulting release decision, not just a copied time.
Damage inflicted after coating is often blamed on dispensing, because it is first noticed at final inspection. Separating the two saves a good dispensing program from being "fixed" for a handling problem:
| What is seen later | Most likely post-coating cause | Check first |
|---|---|---|
| Fingerprint, cloth mark, or dust embedded in the coating | Face touched or exposed to dust while wet | Cure zone cleanliness and handling record |
| Flat marks or dents matching another module | Stacking or leaning before full cure | Whether the batch was stacked before release |
| Bubbles or pinholes through the layer | Heating to accelerate cure, or a thick layer that was not defoamed | Datasheet cure warning and defoaming record |
| Edge chips or coating lifted at the edge | Handling or screwing before full cure, or pressure against a frame | Release sign-off time versus assembly time |
| Uneven cure across one batch | Temperature or thickness variation within the batch | Shop temperature record and thickness check |
If the same damage appears on a batch that was handled correctly and released on time, the cause is more likely upstream — dispensing, mixing, or material — and that is the point to reopen the dispensing and material records, rather than adding more cure time and hoping.
Before a coated batch moves to cabinet assembly or packing, confirm every line. One "no" holds the batch.
A batch that fails any line is not a batch to "use carefully". It is a batch to hold, inspect, and disposition under the same acceptance and rework rules that apply to finished modules — because once it is screwed into a cabinet, the cost of finding the problem multiplies.
Cure behaviour is only repeatable if the coating itself is repeatable: the same thickness, the same coverage, batch after batch. That is where the dispensing machine earns its place in a curing guide. The JHIMS GOB-LXS330 glue dispensing machine for LED displays applies the coating with a running accuracy of ±0.05 mm, a 400 × 400 mm fixture, teaching programming, and parameter storage for different products — all verified on its product page. Repeatable application does not shorten cure, and it does not replace the datasheet condition, but it removes one variable: when the coating thickness is consistent, the cure time from the reference batch is a meaningful starting point instead of a guess. The machine's role ends at application; curing, handling, and release remain a separate procedure with its own record.
For precision dispensing context only — not a GOB machine — the JHIMS D900 on jhims.net illustrates the same principle at a different scale: repeatable, controlled dispensing is what makes a downstream process window, including cure, predictable. Do not confuse the two machines: the GOB coating step in this guide is the GOB-LXS330, and the D900 is cited only as a dispensing-precision reference.
Can we shorten cure by warming the shop?
Only if the material datasheet allows it for that material. For OPT315, heating to cure is generally not recommended because it can cause pinholes and bubbles. A warmer shop also shortens working time, so a batch mixed for a cooler shop may behave differently. Follow the datasheet, and record the actual temperature.
Is a surface-dry module safe to pack?
No — not on surface dryness alone. Packing, stacking, and screwing into a cabinet require the fully cured state defined by the datasheet, plus a release sign-off. Surface dryness is a progress mark, not a release.
What if one module in a batch was touched while wet?
Isolate that module and disposition it under the finished-module acceptance rules; do not let one touched module's fate decide the whole batch, and do not quietly pass it into a cabinet hoping the defect will not show.
Does a longer cure than the datasheet states harm the module?
Holding a module longer in its cure zone, flat and untouched, is not the same as accelerating cure. If the schedule allows extra cure time, it is the safer direction — but it does not repair bubbles from poor defoaming or damage from early handling, and it does not replace the release record.
Where does curing end and acceptance begin?
Curing ends at release sign-off. Acceptance — checking the finished coating for bubbles, thin spots, and edge gaps — is a separate inspection of the released module. A module can be fully cured and still fail acceptance, and a module that passes a quick look while still uncured has not passed anything yet.
Bottom line: Treat cure as a controlled step with its own record — datasheet condition on the traveller, a flat and separated cure zone, a witness coupon per batch, and a signed release before stacking, packing, or cabinet assembly. The coating machine makes the layer repeatable; only the cure procedure makes it ready. For the coating material used as the worked example in this guide, see the OPT315 potting and sealing material product page, and for module fixing after release, see the guide to choosing an automatic screw tightening machine for LED module production. Questions about a specific material or module: [email protected].


 Teams
 whatsapp
 telegram
